Using Another Virtual Machine
There are lots of ways to program in C. You have seen a few, including one with the Virtualbox Virtual Machine (VM). Here is another one.
This page will show you how to use C using the VMWare environment. It might be of interest to you that the person who started VMWare is an NAU graduate. He is really rich now; just saying . . .
Downloading and Installing VMWare
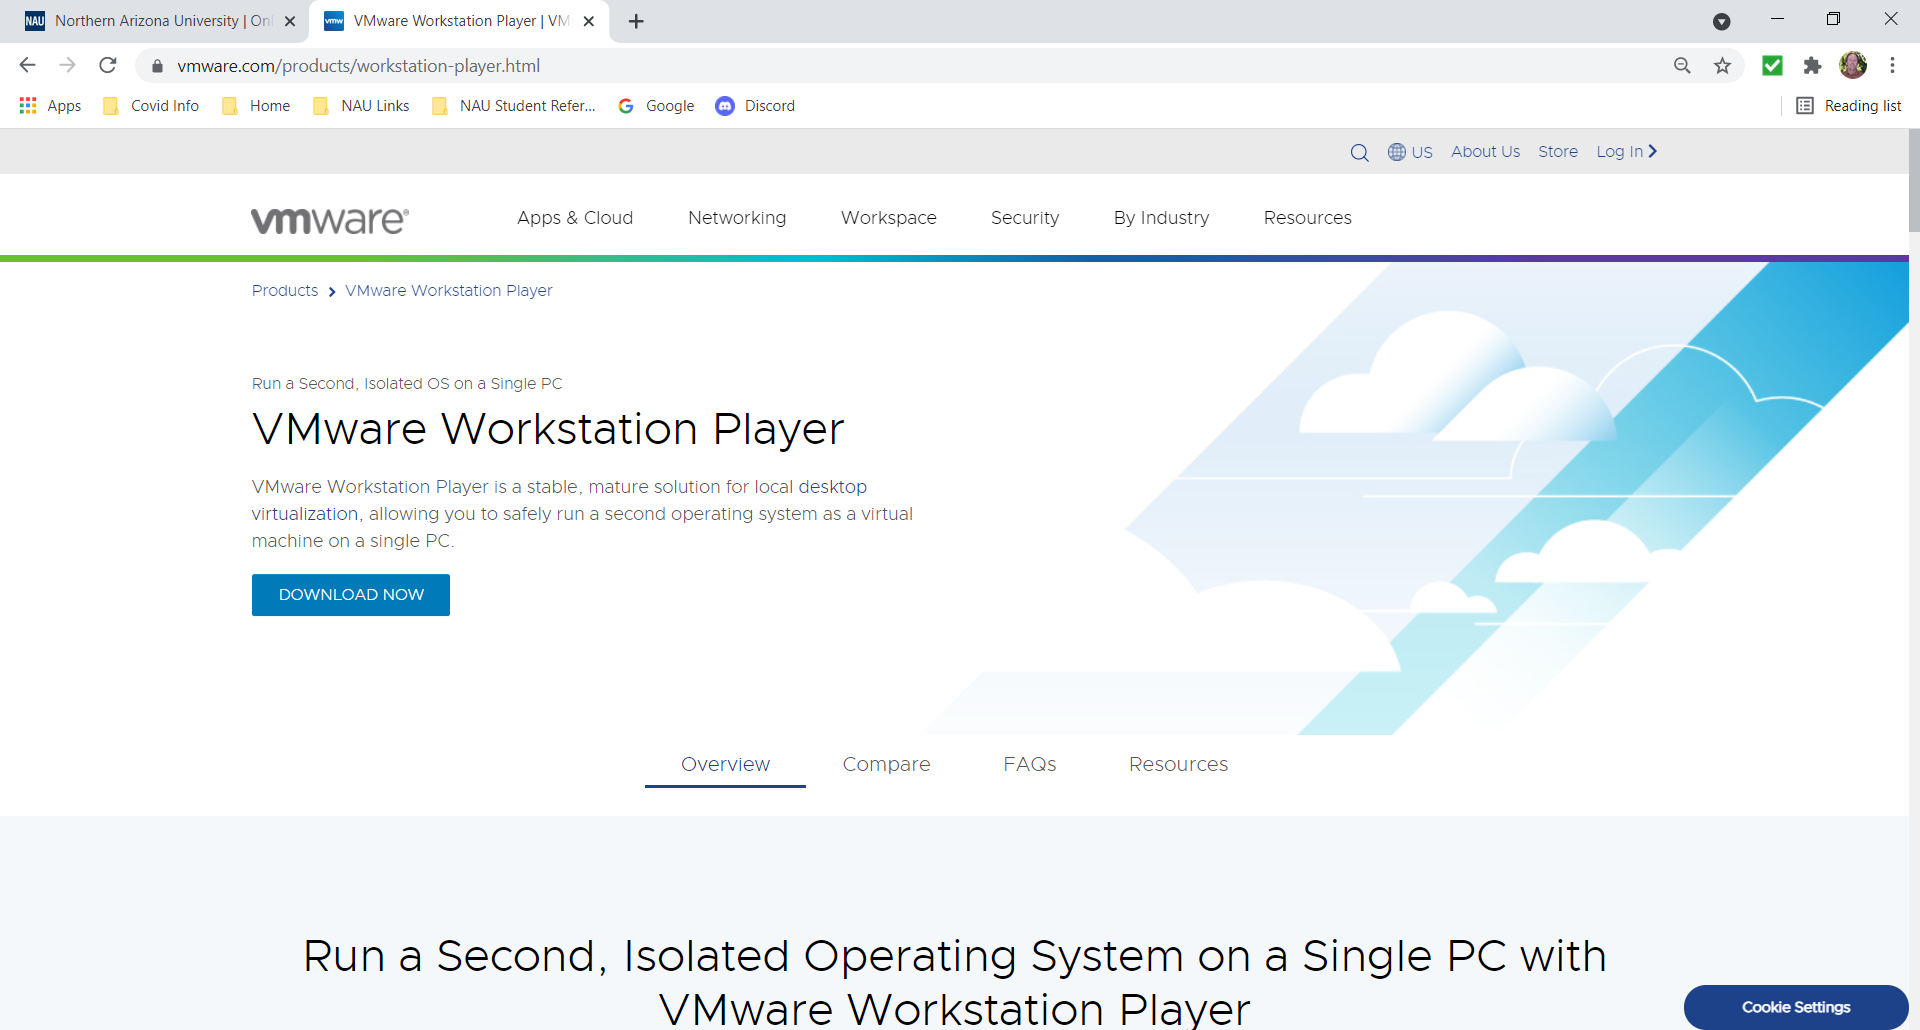
Start by searching for "VMWare Player", select the link and view the page shown here.
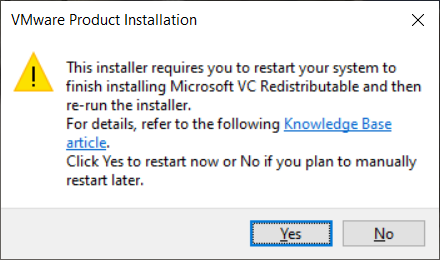
Download the file to your local directory and double click on it when it has completed. Depending on your system, the following popup may advise you to reboot your computer.
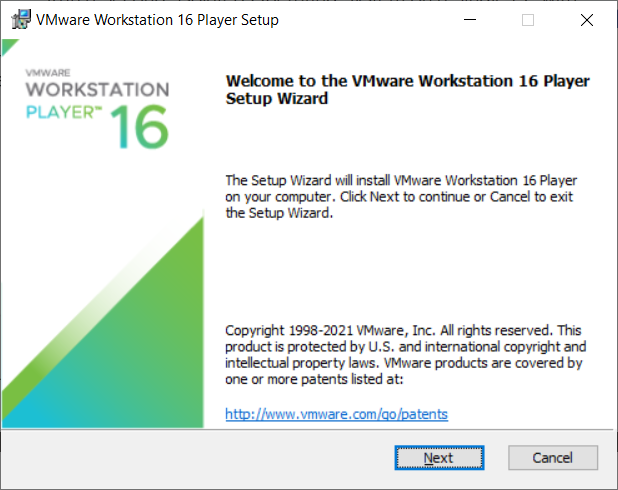
Reboot if this is needed. When you are logged back into your computer, again double click on the installer program to see the following splash screen.
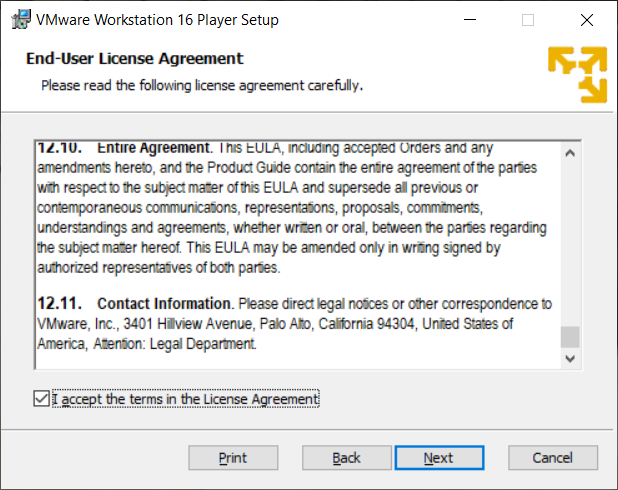
View the license as needed and select Next. You will view the license screen as shown here. Review this as needed and select Next
The Custom Setup screen is shown. It is your option to select the Enhanced Keyboard Driver but it is hard to say how much it helps.

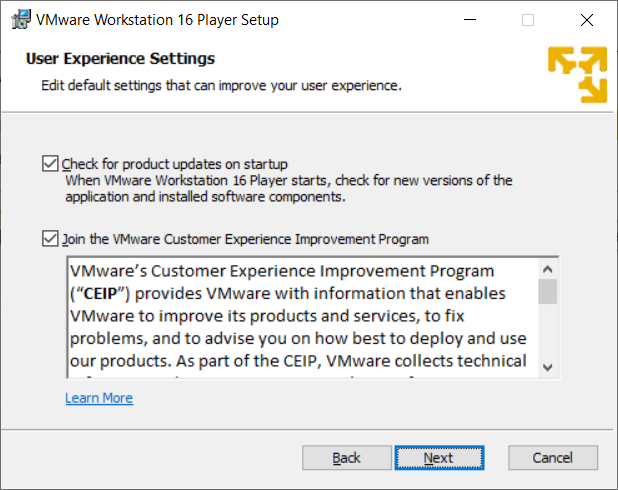
Select your choices in the User Experience Settings window.
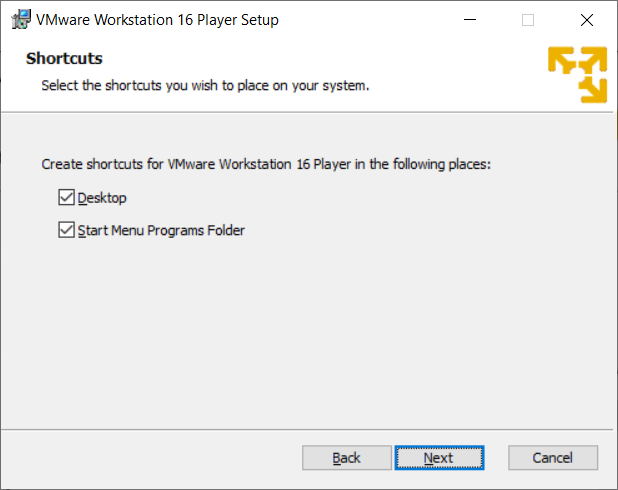
Select your choices in the Shortcuts window.
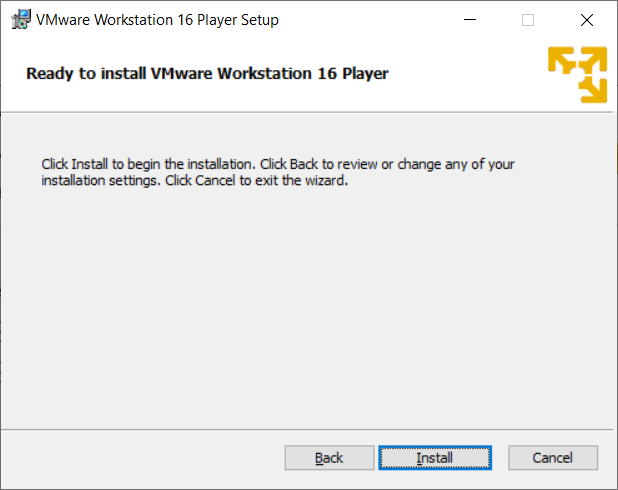
From the Ready to Install window, select Install.
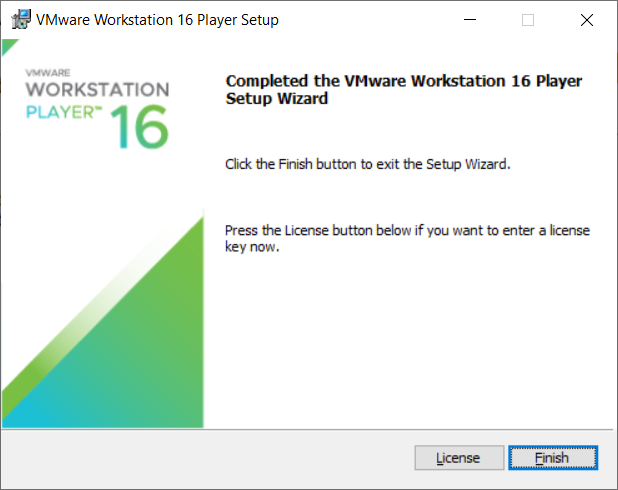
Wait for completion of the install to view the following screen. There is a "License" button at the bottom but you can use this software free for non-commercial purposes so you can ignore this.
Downloading and Installing Ubuntu
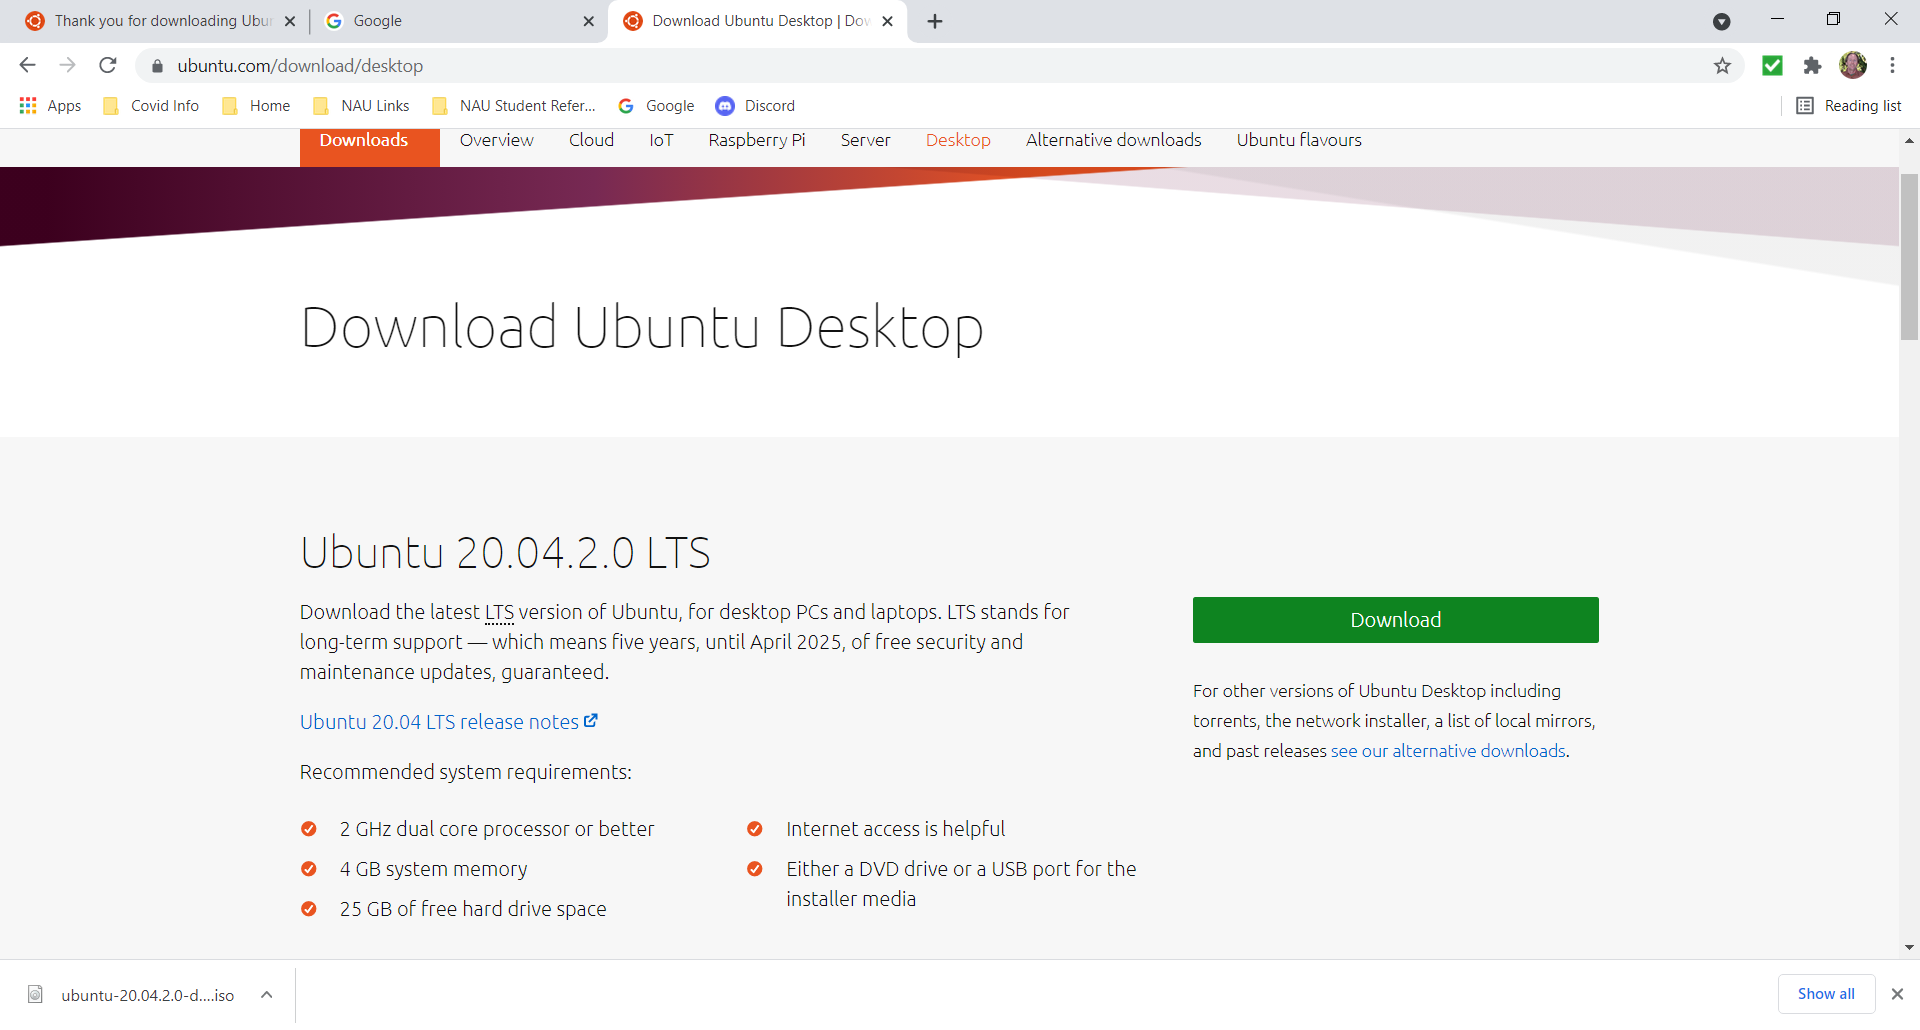
With the VM installed, you can go back to the Internet and search for "ubuntu iso download". Make sure you get the most up to date version which is currently the 20.04.2.0 LTS as shown here. Save this file in a location where you can come back to it.
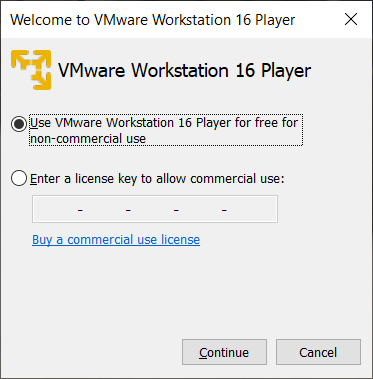
Double click on the VMWare icon to start the system. The following screen is displayed. Select the non-commercial use button and Continue.
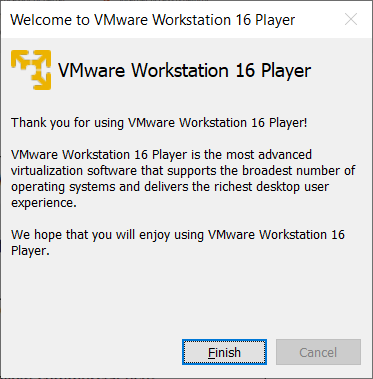
The welcome screen is shown next. Select Finish
In the main Player screen, select "Create a New Virtual Machine".

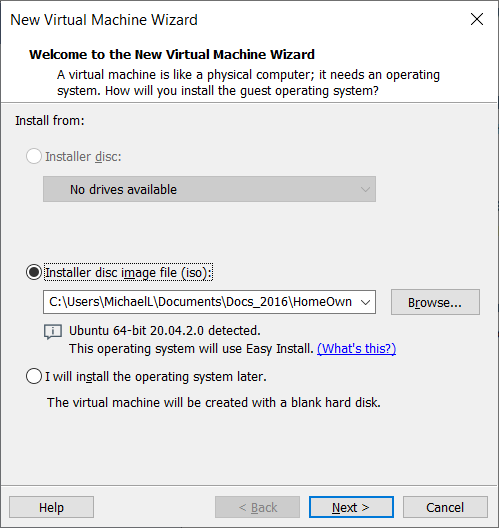
In the Wizard, browse and select the Ubuntu ISO file you downloaded. Then select Next
Enter your user information and select Next.

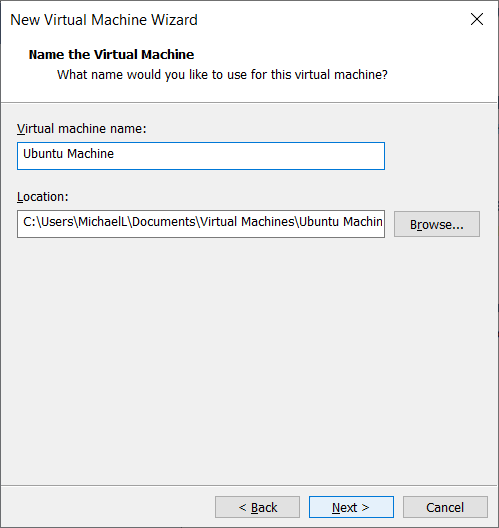
Name the machine and select Next.
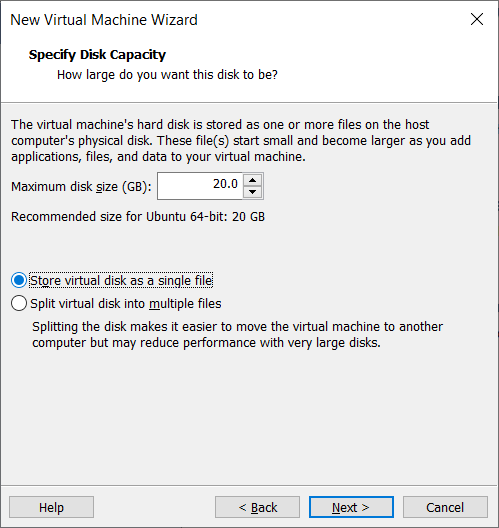
Use the recommended disk space and select storing the disk as a single file as long as your hard drive isn't too full.
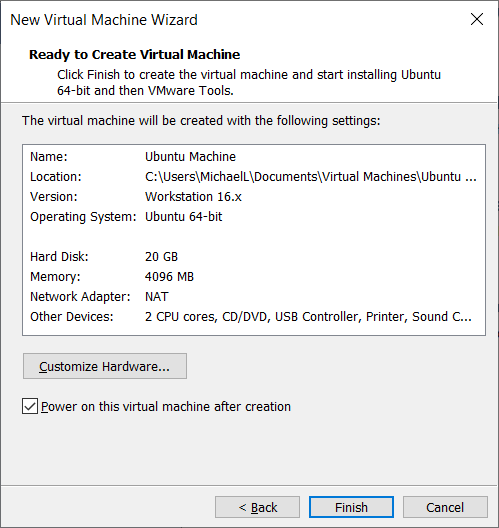
The system is ready to create a new machine as shown here.
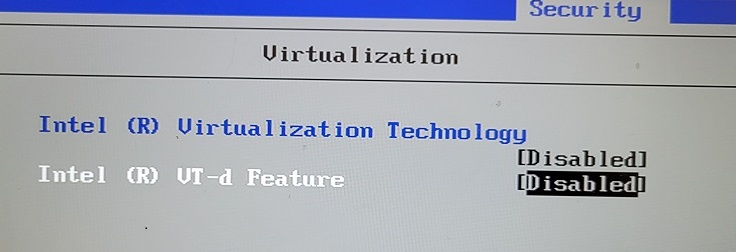
If the settings on your computer don't have the virtualization set, you may see the following screen.
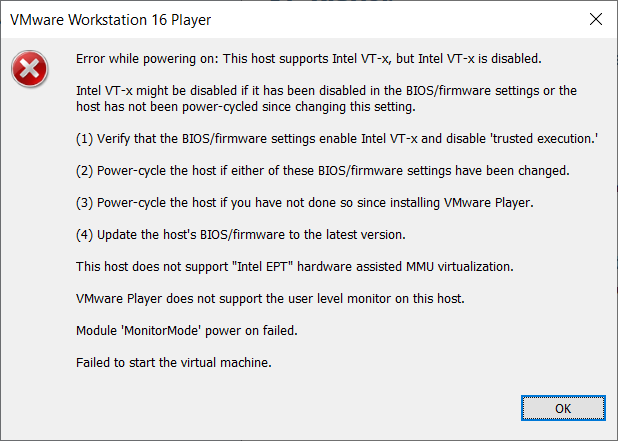
you will need to change your BIOS. Here is one example of how to do that. Boot to your CMOS/BIOS, find the virtualization settings which may be under a security tab, and enable this (or these).
Finally, during the setup, you may see the following screen.
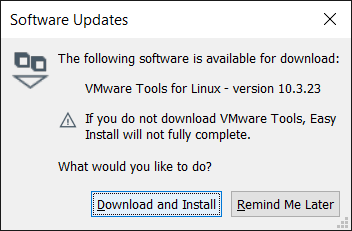
Select Download and Install to make sure your VM has the best tools to manage your Linux system.
A Quick Test Drive
Finally, you are now ready to test your compiling process. First, click on the dotted icon in the lower left of the screen, shown here.
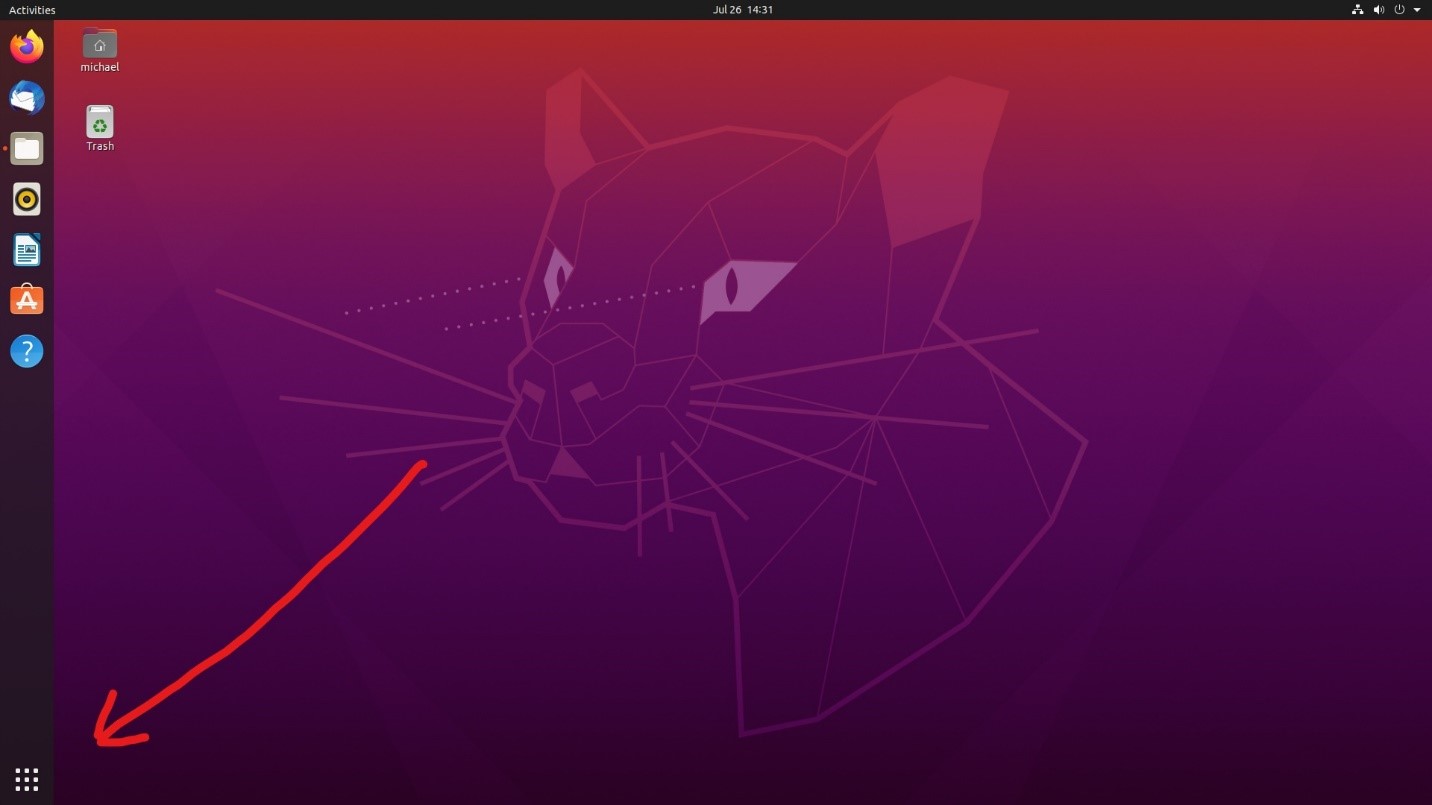
In the search box at the top center of the screen, type "terminal" as shown. Click on the Terminal icon to start a command line operation.
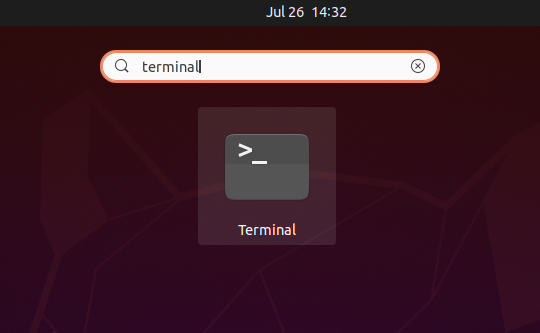
Type "vim" at the command prompt. Your brand new Ubuntu may not have this but if it doesn't, it will tell you what to do to get it. Once you have vim open, press the letter 'i' to start editing, and type the code shown into your file.
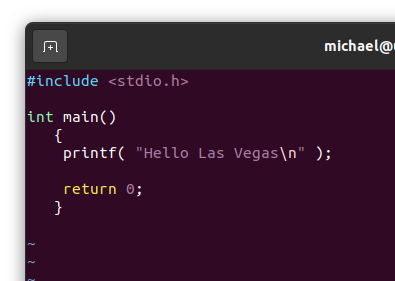
When you have completed the code, press Escape to get out of editing mode, then type ":wq" (colon, then w, then q). This will save your file and close vim. From there, you can compile the program as shown here.

If everything goes well, the command prompt will just come back without any comment. However, if the compiler reports any errors or warnings, go back and take a look to see if you have a problem with the code. From here, you can run the program, as shown. Note that you have to type dot slash ("./") to run local programs.

That does it. You have installed a VMWare virtual machine, you have installed Ubuntu on that machine, and you have written, compiled, and run a program. You are off to a great start.
If any part of this didn't work for you, check with your Instructor for help as needed.