Installing GNU for Linux
The following instructions explain step-by-step how to install GNU/GCC (C and C++) compiler tools. While, there are a few ways to do this, everything in this reference will be installed via the terminal.
First, open a terminal window. This can be done by locating the terminal in the applications window or by the keyboard shortcut Ctr+Alt+T.
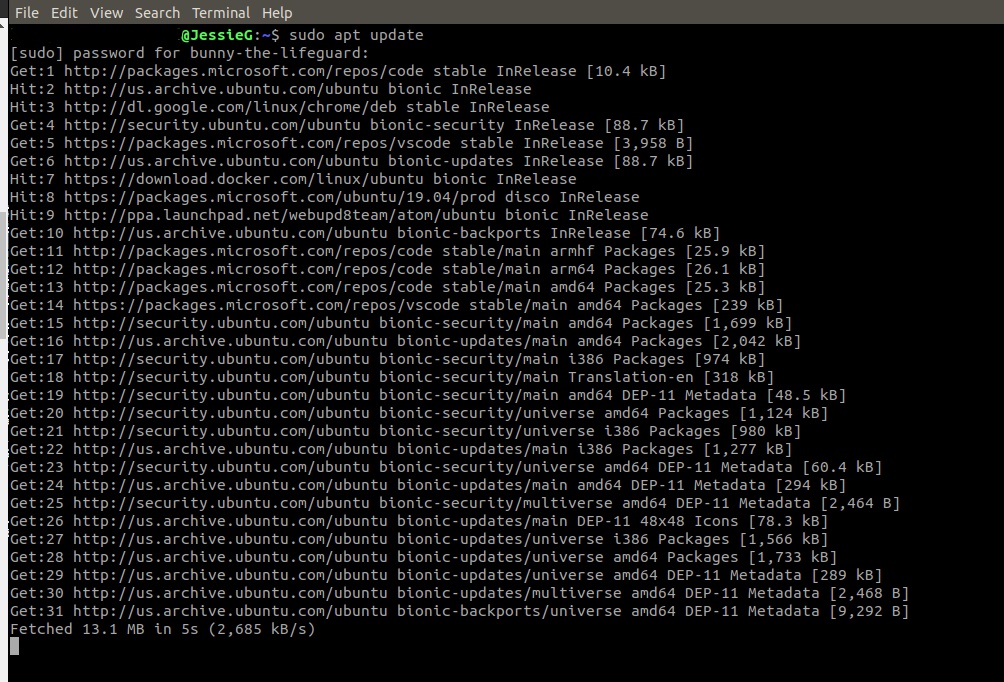
Once that is done, type the following command into the terminal and press enter:
sudo apt update
There may be a prompt to type in a system password for the above command. If so, type it in and hit enter. Note: The password will not show on the screen. This is for security reasons. The terminal is grabbing the password and will execute once enter has been hit.

The update may take a few minutes to complete. Once it does, type the following command and press enter:
sudo apt upgrade

Wait until that has completed and then type the following command and hit enter:
sudo apt install build-essential
There may be another prompt for a password here.

After that has completed the installation can be verified by typing the following command and hitting enter:
whereis gcc make

This will show the file path of where gcc is located on the machine.
Next, type the following command and hit enter:
gcc --version

This will show that the version downloaded is, in fact, up to date.
Finally, type the following command and hit enter:
make -v

Next up is installing the dev man pages. Man is short for manual. These are the manual pages for using GNU/Linux for development. Type the following command and hit enter:
sudo apt-get install manpages-dev man-db manpages-posix-dev

Now, a small test program can be run to test the new compiler. Type the following command and hit enter:
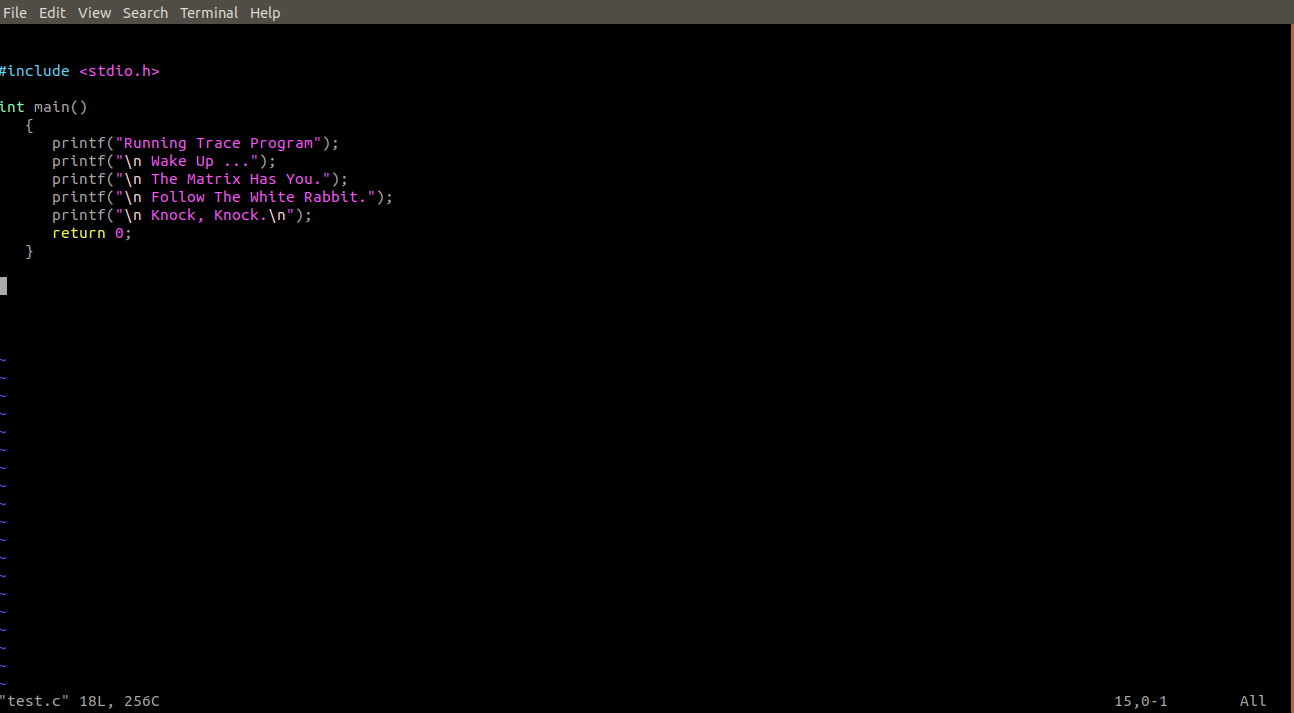
vi test.c
(test.cpp for a C++ program). This will open a new window where editing and writing of a program can take place. Note: the program can be named anything. This reference uses the name test.

In order to start typing, first type the letter i and then begin writing the program.

Notice the pound include at the top of the program. This is a requirement of all C and C++ programs. stdio.h is used for C while iostream is used for C++. These are your library functions. They are like import in JAVA.
Also notice that this program requires main and a return value. Since main is an int an int is returned. printf is the print statement.
Once the small test program is completed, hit the esc key and will no longer be editing the program. Next, to write the program to the terminal type:
:w
then, to return to the terminal window, type:
:q
Once there, the program can be compiled by typing:
gcc test.c -o test
(g++ and test.cpp for a C++ file).

If nothing happens, than the program compiled without errors. If that is the case, to run the program type:
./test

If everything was done correctly the output should show in the terminal window. Congratulations! You just ran your first C/C++ program via the terminal window.
Next, isntall X11 development compilers by typing the command:
sudo apt install libx11-dev

Creating or editing programs can also be done via a GUI window. This can be quicker and less tedious than just editing via the terminal. This works by the terminal calling a text editor or IDE to open the program in. This reference was done via Linux default text editor.
Type the command:
gedit test.c &
Note: If & is not utilized, the GUI window will still open, but the terminal will no longer be active. & is required in order for the GUI window and the terminal to work congruently.

It may take a few moments to open and the window will look something like the following.
